Contact
The Division of Learning and Digitalisation
For questions and comments about our educational systems
utb-system@slu.se.

Here you can find guides on how to use Slunik.
Information from the course leader is used to communicate with prospective students before they start the course.
Canvas should be used to send messages to your students when they are enrolled in the course.
It is no longer possible to send text messages to the students.
The course schedule is uploaded as a file (pdf works best). It is not possible to enter the schedule text directly in Slunik.
This schedule will eventually be replaced by the schedule from TimeEdit.
The course reading list is created and updated in Ladok.
The reading list appears as before on the course page on the web. Previously created reading lists are displayed in Slunik but can no longer be edited. In Slunik you can copy the text, make changes and then paste it into Ladok. Then the new text will replace the text from Slunik.
Ladok reading list
Starting with the fall semester 2023, grading criteria will not be displayed on the course page. The grading criteria should instead be in Canvas. See the Education planning and administration handbook, section 7.1
Also read about Template pages in Canvas
If you have already entered grading criteria for the course session in Slunik. They are no longer editable, but you can copy the text, make changes, and then paste them into Canvas.
Contact utb-system@slu.se if you want to remove existing text for grading criteria in Slunik.
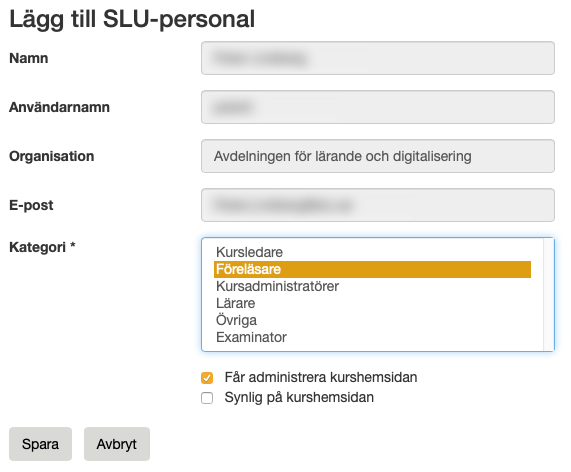
Authorization management for Slunik is changed.
The people who are admitted as course leaders, administrators and examiners at the course in Ladok, automatically receive administrator privileges for the course in Slunik. Administrators from Ladok are updated every 15 minutes. Then they can add more administrators if desired.
Ladok Course team
The list of students now shows all accepted students. The status column shows if they are admitted/ registered. The student list can be exported as an Excel file and as a mailing list.

Servicedesk helps you with everything about Slunik.
You reach Servicedesk via extension 6600 or support@slu.se.
For questions and comments about our educational systems
utb-system@slu.se.