Camera surveillance
Guide PC
Installation Guide for Axis Camera Station (PC)
Follow the step-by-step guide below for installing or upgrading the Axis camera station:
1. Download and run the file through this link: Installer ACS PRO
2. Tick that you want to install and click "Next"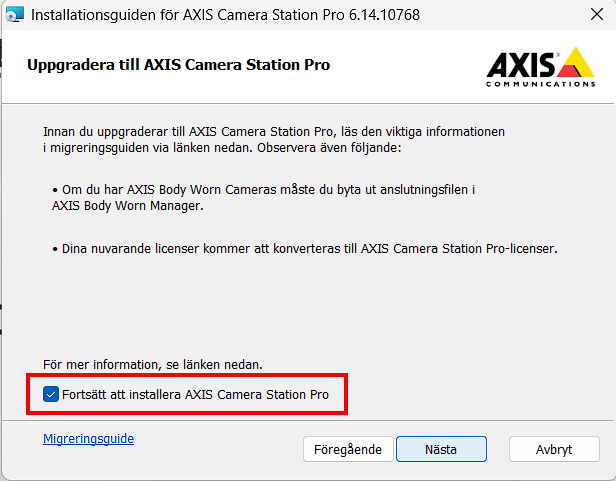
3. Tick to Accept the license agreement and click "Next"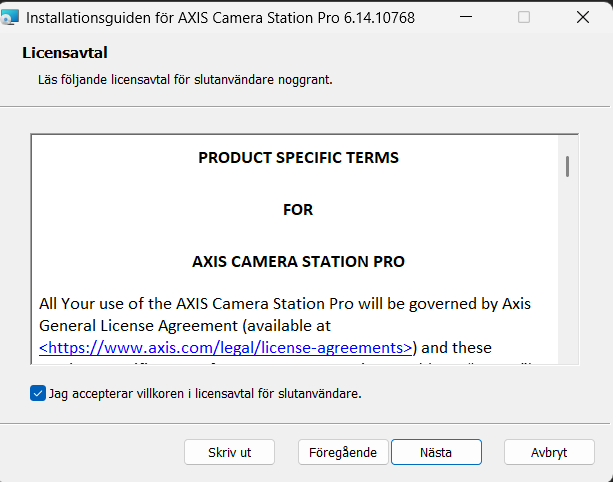
4. Tick Exceptions in the Windows Firewall and select "Install"
5. Accept that the app may make changes to your computer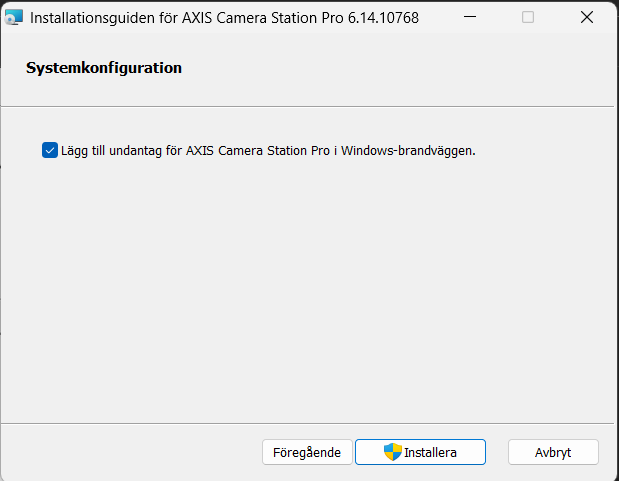
6 . Select Finish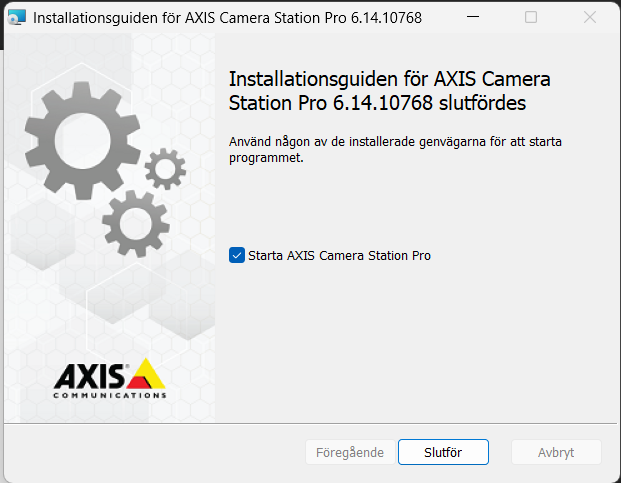
First time you sign in:
Prerequisites:
To log in, the account you log in with the right access to the current cameras needs. If it is not already arranged, order via the form on the support page for camera surveillance.
1) Start AXIS Camera Station Client
2) Connect to Remote server: surveillance2-1.ad.slu.se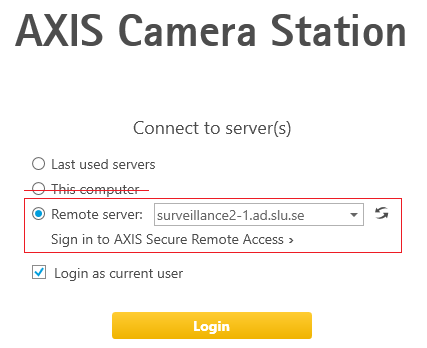
3) Choose Current User
4) Click Login
If you have any questions, please contact support@slu.se
User Guide Axis Camera Station (PC)
Prerequisites
To gain access to the Axis Camera Station system and intended cameras, as well as install software, visit the support page for camera surveillance
Guide
Start the client by opening Axis Camera Station

The client is set to log the current user on the computer into the system.
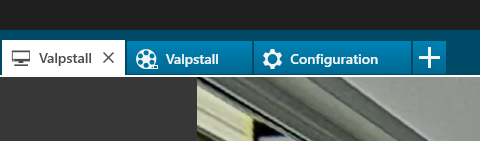
When you are logged in, you get by default three tabs in the upper left corner: Live View, Recordings and Configuration. You can add more tabs, such as Smart Search, by clicking the plus sign.
Under the Live View tab, you can see and control the cameras to which you are authorized.
To control the camera view, you can:
- click on an area in the image, to point the camera there
- click and draw an area with the mouse pointer, which focuses the view on that area
- move the mouse pointer to the center of the image and click and drag to control the camera view freely
To zoom, you can:
- move the mouse pointer to the center of the image and scroll
- select an area with the mouse pointer, to zoom in on that area
- Link to video guide for camera control
Search and review recorded material
Under the Recordings tab, you can review and search recorded material from the cameras to which you have access.
Select the camera on which you want to review the material and play back. Unless otherwise agreed, you can review material no more than 7 days back in time.
- Click and drag in the timeline to jump forward and backward in time.
- Scroll over the timeline to Zoom in and out
- Click the play button to play / pause
- If you have previously started a manual recording, the advice will be highlighted in yellow
- If activity triggers are activated, these areas will be marked in red in the timeline to illustrate periods that may be of interest to review. You can also use the Smart Search function according to the guide below
Export materials
- Right-click on the timeline to export materials or add bookmarks.
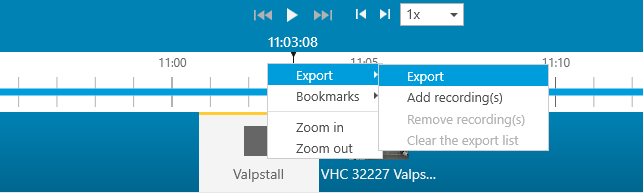
- You can also select an area in the recording for export by the icon and then click on the export icon on the right, which opens a new window for the export tool.

- Link to video guide for exporting materials in ACS
Guide Mobile app
Installation Guide for Axis Camera Station mobile app
Prerequisites
- If you do not already have authorization for the Axis Camera Station system and intended cameras, contact: av-forvaltning@slu.se
- Download the Camera Station app. Available for Android or iPhone.

- To access cameras, you need to be connected to SLU's network
Connecting from home (ignore if you connect from SLU WiFi)
- If your mobile device is not on SLU WiFi, for example from home, connect to SLU's network via VPN using the Cisco AnyConnect mobile app. Available for Android or iPhone.
- To connect to the VPN, launch the AnyConnect app and select Add New VPN Connection
- Connect to vpn-uppsala.slu.se
- Log in with your AD account
Settings (required only the first time you launch the app on a new device)
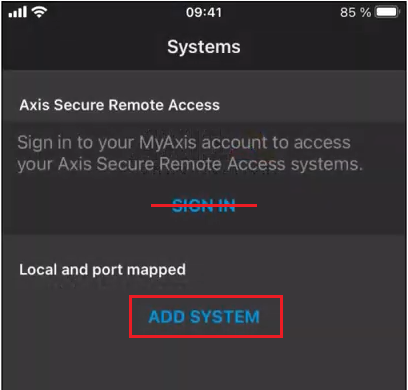
- Launch the Camera Station app
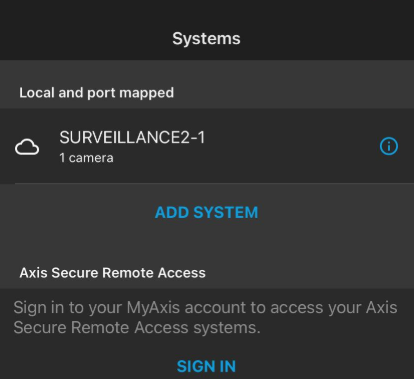
- Click ADD SYSTEM (You should NOT select SIGN IN)
- followed by Add System Manually
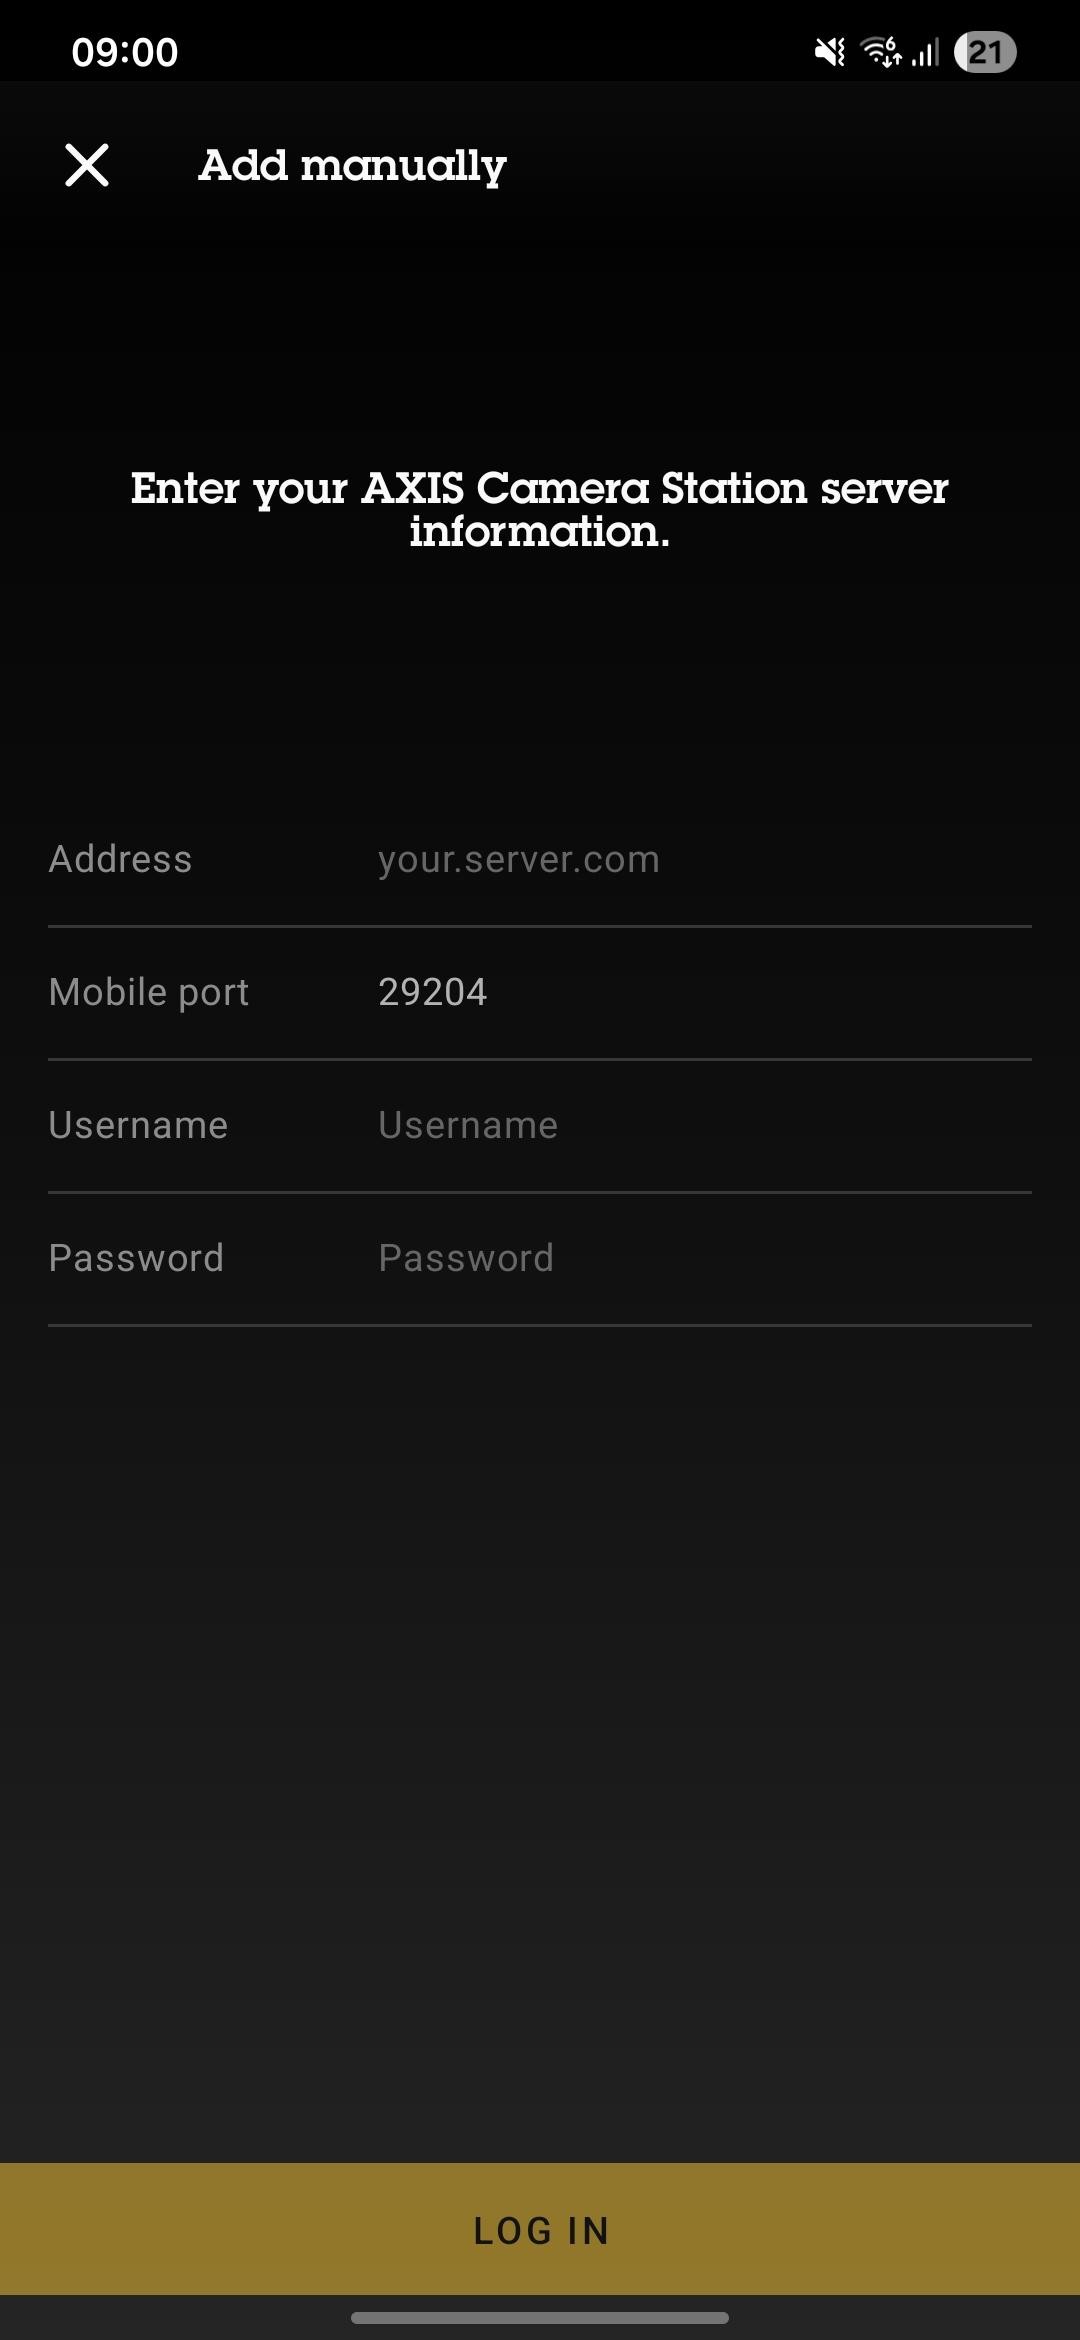
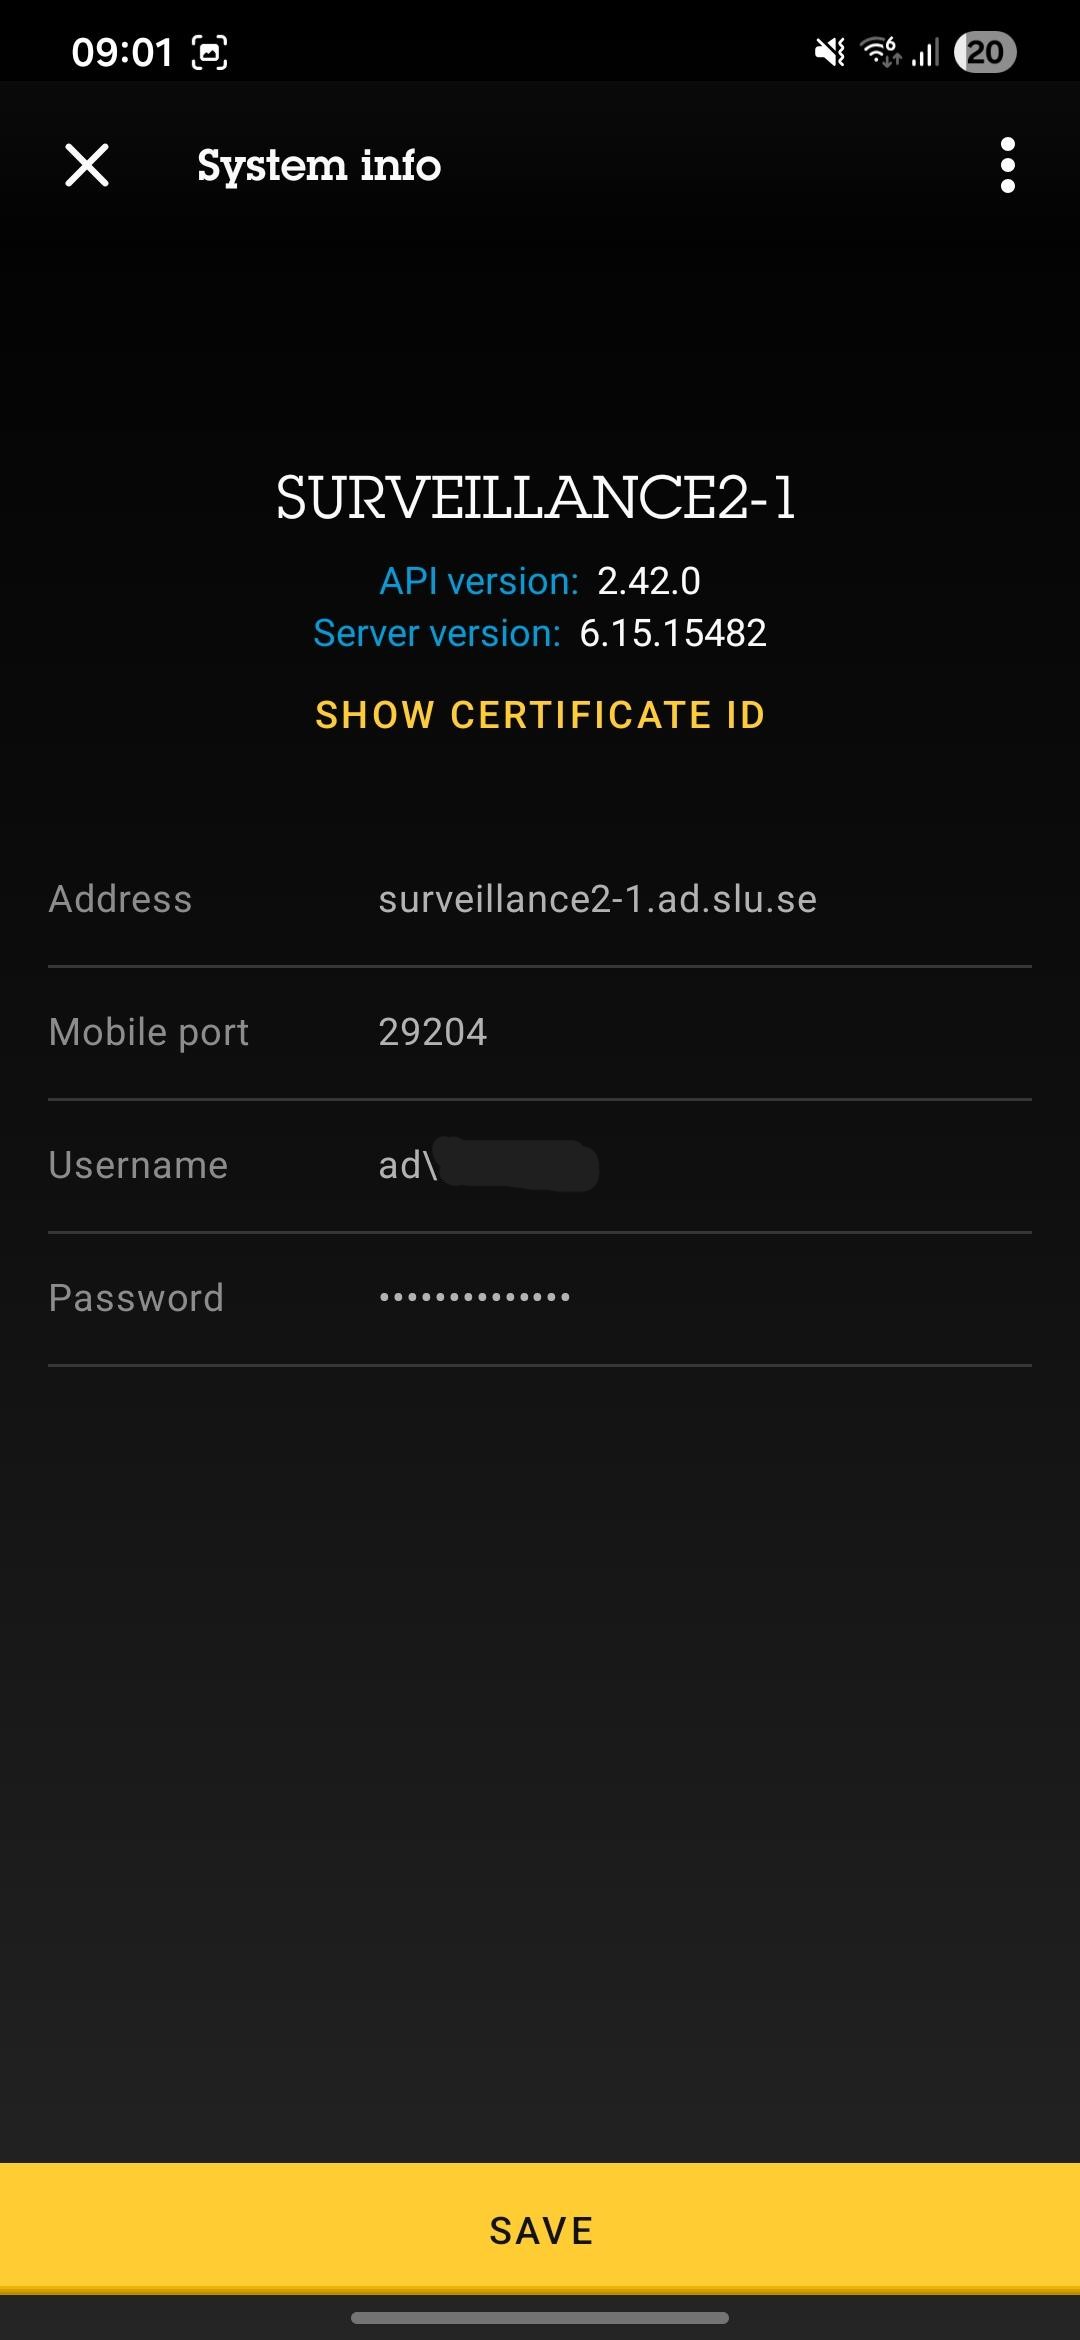
- Address: surveillance2-1.ad.slu.se
- Mobile port: 29204 (usually pre-filled)
- Username: AD\username
- Password: your AD password (Note: when you change your AD password, you must manually update it in the app)
- Click Save
Manually update password
Every 6 months a password change is required for your AD account. As you change the password in AD, the password in the app does not match and you lose access to the cameras. You therefore need to manually update the password in the mobile app as follows:
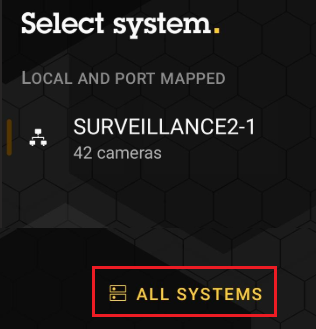
- Click on system SURVEILLANCE2-1 at the top of the view
- Select ALL SYSTEMS
- Click ⓘ-icon on the right
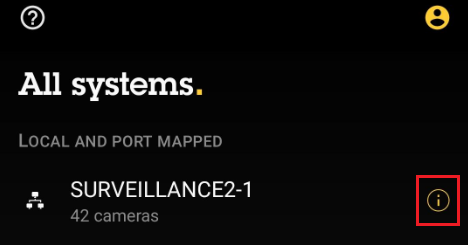
- Then update the password manually and click SAVE
User Guide Axis Camera Station mobile app
- Launch the Camera Station app
- Click "SURVEILLANCE2-1"
- You now get a view of all the cameras you have access to
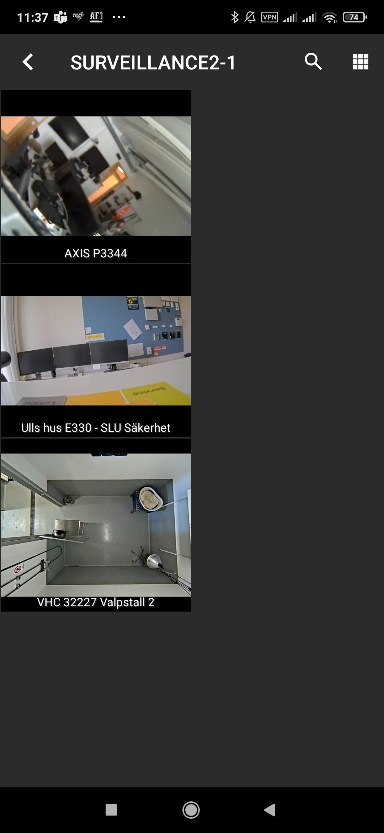
- Click on the respective camera you wish to view. You can also use the grid symbol at the top right to adjust the appearance of the overview view.
- To redirect the camera view, click on the area you are interested in
- To zoom, you can double-click an area or pinch with two fingers
- In the upper right you have a camera roll, this can be used to review recorded material.

Note that you can NOT export video footage through the app. Then the ACS computer client is required. - At the bottom left you have a camera symbol, this can be used to take a snapshot.

- At the bottom in the middle you have a symbol with three horizontal lines, this can be used to select the camera angle.

- In the lower right corner you have three vertical points, which you can use to access any settings.

- In the upper left corner you have an arrow pointing to the left, this takes you back to the overview view.